Now this is what I call a summer meal! I threw this together in about 45 minutes cause really who the heck wants to spend 3 hours in the kitchen with a summer breeze blowing outside. I’m a sucker for some soul food and grilled fruits and veggies, so for the holiday weekend I lit up the grill and went to town and made a mouth watering meal that will definitely be a summer staple on any table.
The Good Stuff
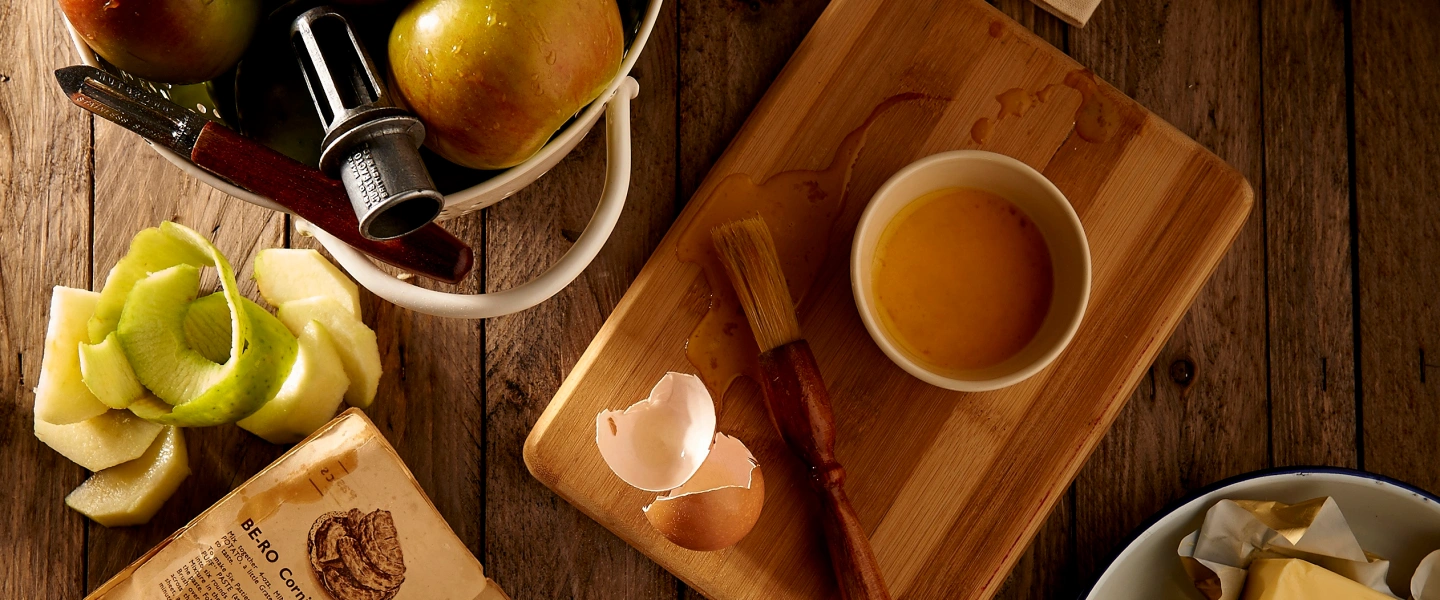
Supplies:
- 4-5 Chicken Breasts
- Boil in the Bag Rice ( I used 2 bags)
- 1 Fresh Whole Pineapple
- 1 Green Bell Pepper
- 1 Red Bell Pepper
- 1 Medium Purple Onion
- Soy Sauce
- Teriyaki Sauce
- Brown Sugar
- 100% Pineapple Juice
- Unsalted Butter
- Little Bit of Bacon
The Chicken & Stuff
Grab you a casserole dish that can hold all of your chicken breasts, use about 1/4 cup (+/-) of soy sauce to cover the bottom of the dish.
Now don’t ask me why but I always rinse and dry my boneless skinless chicken breasts.
After you rinse and dry put all your breasts in the soy sauce. This will marinade them enough until it’s time to grill.
That Sweet Stuff
In the meantime we are going to make my pineapple teriyaki glaze.
Ingredients
- 1/4 cup (+/-) Brown Sugar
- 1/2 Cup of Pineapple Juice
- 2 TBSP (+/-) Teriyaki sauce
Put this stuff in a bowl and stir it up, you want a medium thick consistency, if it’s not thick add more brown sugar.
Set this aside to use as a glaze while you’re grilling.
Now that we have the glaze done let’s make our pineapples and veggies.
Core and slice your pineapple thinly, cut your bell peppers and onions like a fajita, in a bowl combine 1/4 of the pineapple and veggies. Splash with glaze until lightly coated, separate into 3 foil grill bags.
Now that grill prep is done let’s get to cookin.
That grill is on fire.
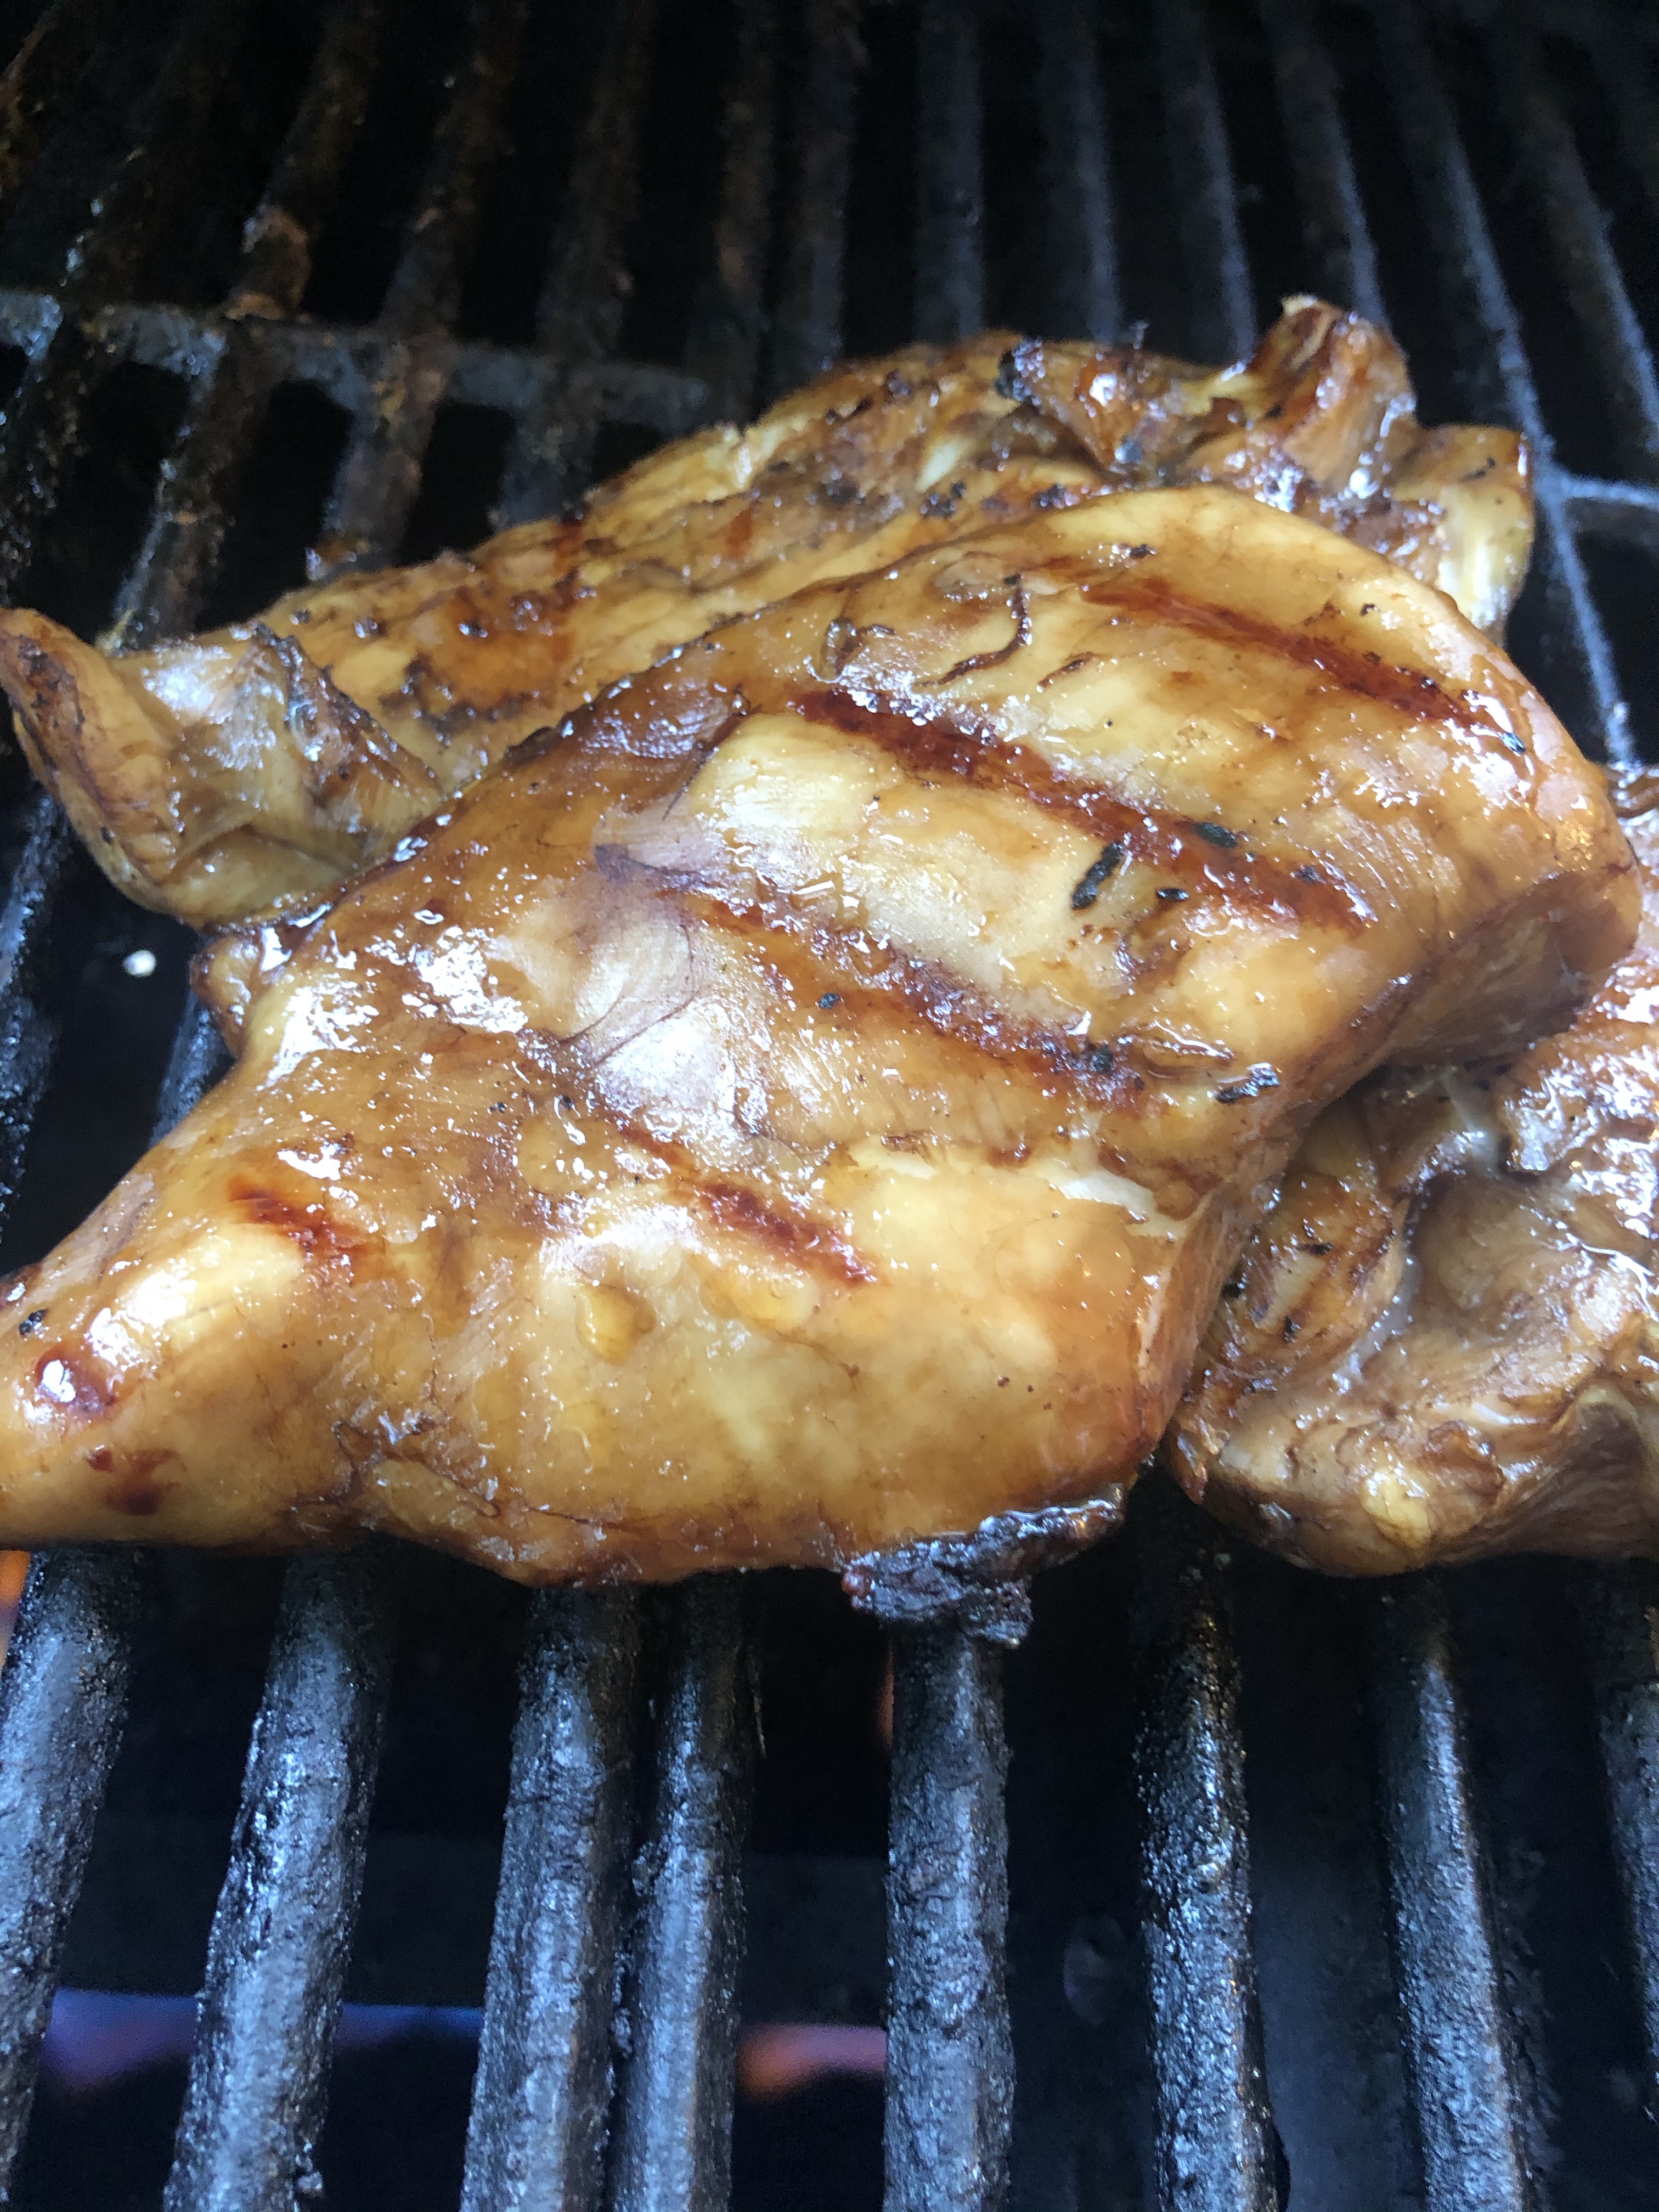
If you know how to grill then you know to CHECK YOUR CHICKEN. Uncooked chicken is from the devil and we don’t allow that evil up in here!
Throw your breasts on the grill and get to cookin’, after you flip them the first time take that glaze we made and spoon about 2 spoonfuls on that breast. Let it cook some more and repeat on the other side, continually flipping and glazing you’re chicken will create a juicy rich pineapple teriyaki flavor that is delectable. Cook your chicken until it’s completely done and still juicy.
While your chicken is cooking don’t forget to grill your foil bags of pineapple and veggies. Leave them on until the Chicken is done!
Let’s Get Sticky…. Rice.
Of course y’all gonna be dirty. Goodness this is a food blog.
So grab some boil in a bag rice ( we used 2 bags) and boil it up. Now comes the fun part
Ingredients
After your rice is cooked add the butter, pineapple juice, brown sugar, teriyaki sauce, and soy sauce. stir for a bit on the stove until sticky and boom you’re done.
Where’d That Bacon Come From?
Now that you’ve got everything made, before you pull your chicken and veggies off the grill fry up about 6 pieces of bacon, EXTRA CRISPY, cool and chop. You’ll put this on top of everything!
Combine it all.
Now throw a bed of rice down add some of your grilled pineapple and veggies, a chicken breast, more of the good stuff and some bacon on top and there ya have it folks a five star summer meal in your own house!

Get Creative!
This meal is an easy one to get creative with, would make an easy kabob or even Hawaiian stir fry!
So needless to say my desire for a light summer meal ended with a sweet spin on a grilled meal!